RAID
Types of Redundant Array of Independent Disks
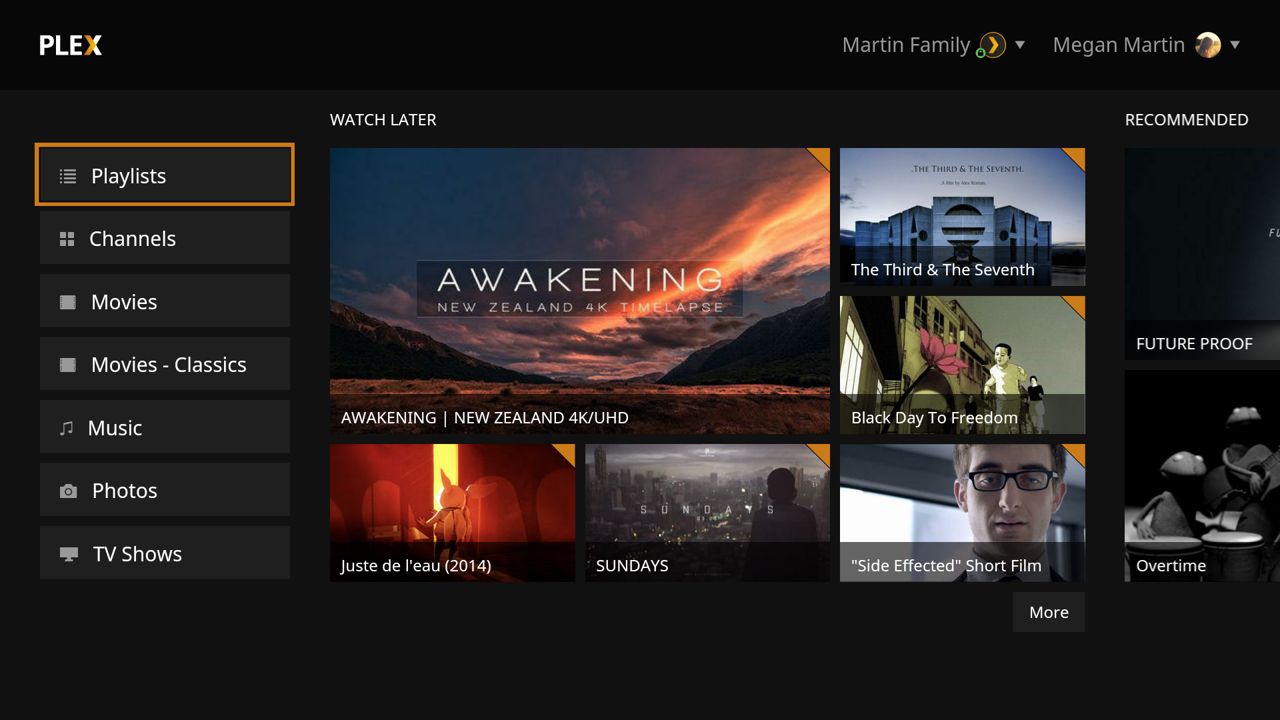
Learn moreEVERYONE HAS MEDIA SERVER BUT NO ONE USES IT
Streaming content from the Internet is fantastic. Today's higher internet speeds mean that you can watch or listen to nearly anything you want from almost anywhere. but even though streaming services like Spotify Netflix and YouTube have totally changed the way that we consume media that doesn't mean that there aren't still major advantages to keeping your own copies of the music, movies, shows, and podcasts that you enjoy. And one of the best ways to do this is with a home media server
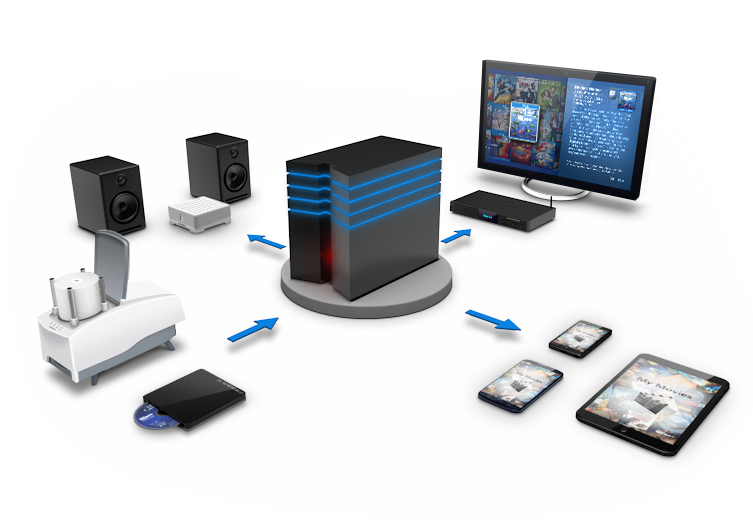
A media server is a device that stores and shares media. It is responsible for hardware as well as software aspects of successful storing and retrieval as well as the sharing of media files and data. A server, PC, network-attached storage (NAS), or any other device with such storage capability can be used as a media server.
Having a server that you own as a central hub for your media not only prevents you from being at the mercy of a slow or finicky internet connection it also avoids the folks that run these streaming services removing something you've been wanting to check out without warning. Since a local network can frequently move data at speeds that are much faster than your average internet connection even wirelessly you won't have to compromise on visual quality or worry about buffering even if you're watching 4k videos with full blu-ray quality or if you have a lot of users on your network at once. This setup can also help you avoid storing individual copies of everything on each of your devices hogging up a ton of space over and over.
Well, another upside to having a Home media server is that you don't need a full blown PC to house this data, while you can repurpose an old computer as a server if you'd like. A more elegant solution is to use a home network attached storage device or a NAS. These are bare-bones PC like devices that are dedicated solely to delivering files as fast as possible. A typical mass usually includes its own lightweight operating system and easily accessible drive base so that you can add more hard drives as your content library grows. Some compact desktop units can support nearly a hundred terabytes of raw storage. Bear in mind of course that if you're using raid or a similar scheme to protect against a disk failure some of that space will be consumed by redundancy.
Let's get back to DIY. If your PC/Laptop is running on windows os you are good. Follow the steps below to set up media sharing.

1. Open the Windows Media Player application.
2. From the Player Library view, click on Stream and choose “Turn on media streaming“.
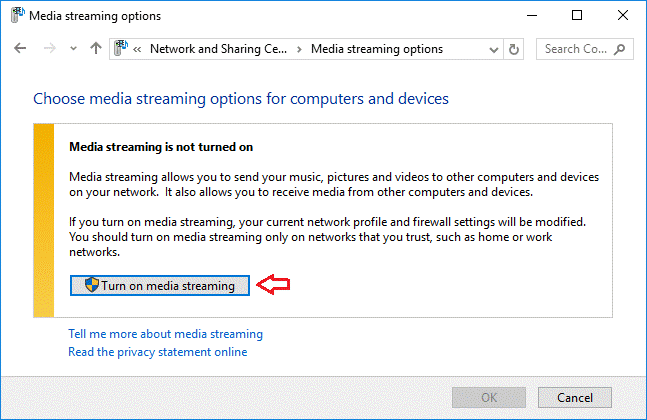
3. Click the Turn On Media Streaming button.
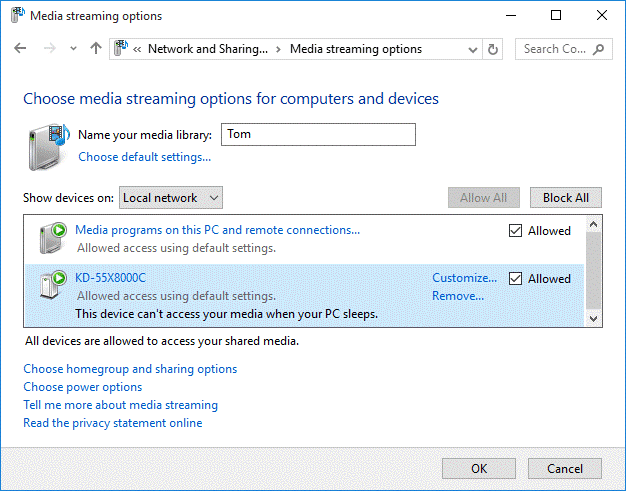
4. A list of network devices capable of accessing your laptop appears. You can remove items from this list by removing their checkmarks.
5. Click OK.
Your laptop’s media is now shared.
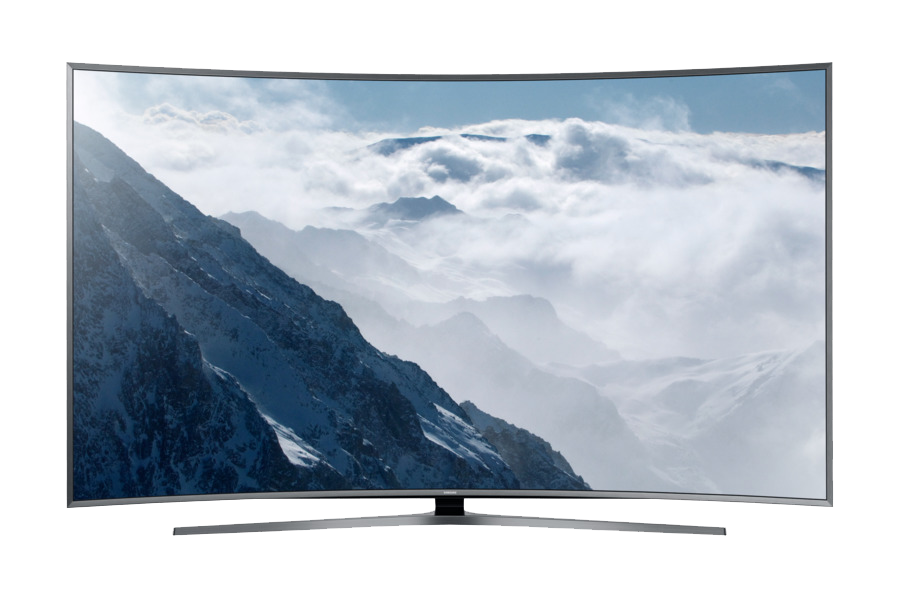
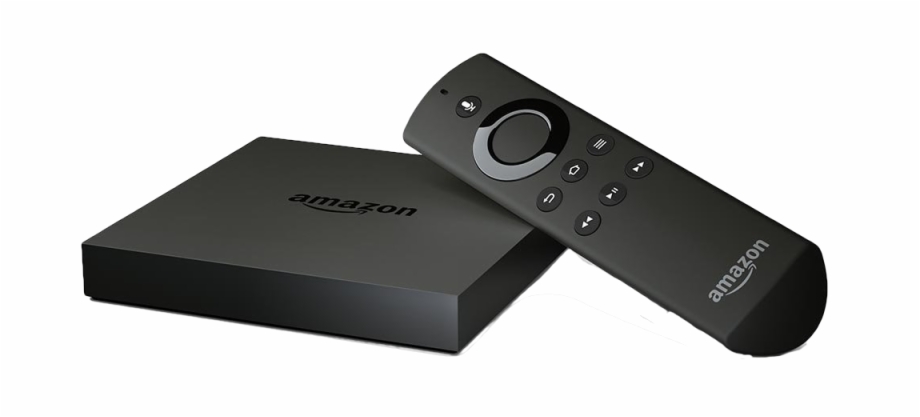
There are many devices through which you can access your media content. Let's have a look at it one by one.

Types of Redundant Array of Independent Disks
Learn more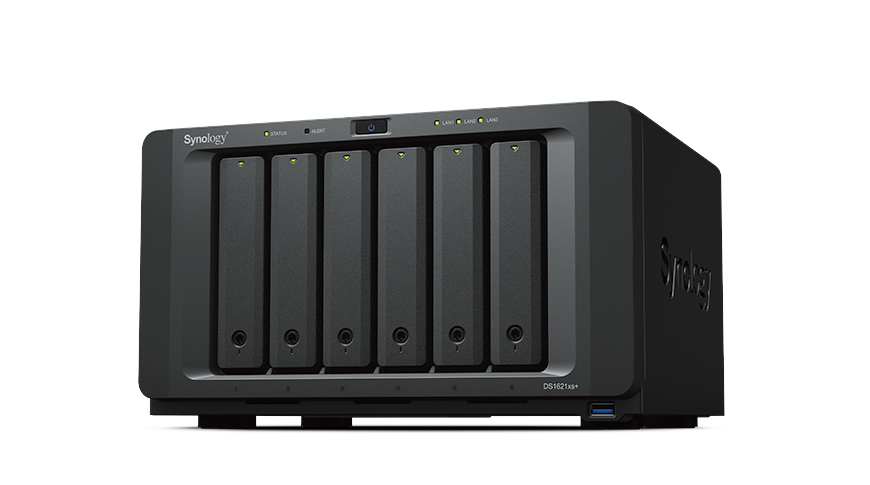
What is Network Attached Storage?
Learn more